I picked up an Omega B8 from a local high school that runs a darkroom still (awesome!) but didn’t have space in their lab for this enlarger. The price was better than all the readily available Beseler 23C’s and it looks pretty cute. I’ve had in mind for a while to build an LED variable contrast head (which uses blue and green LEDs connected a probably-computerized dimmer to print VC paper instead of a white light and filters). The time and budget for that project hasn’t rolled around yet, but a VC head would almost certainly mean pulling out the condensers and switching the enlarger over to a diffusion setup. The idea settled in my brain that it’d be a fun science project to switch over the enlarger to diffusion anyways, regardless of whether it had a regular or VC light source.
Condenser enlargers (i.e. most enlargers designed for black and white work) use large condenser lenses to focus the light from the lamp onto the negative. Ideally, condenser setups deliver a lot more light to the print for a given lamp power than an equivalent diffusion setup. Diffuser setup (most dichroic color heads are diffusion setups, although there do exist diffusion heads for black and white only work) use a lamp placed relatively far from the negative, with some kind of diffuser (frosted/opal glass, white plastic, etc) placed relatively close to the negative (effectively a really bright-ass mini light box right above the neg). Diffusion enlargers tend to minimize the appearance of dust and scratches which is great because I’m a lazybones and I don’t always treat my negs with the most care (oops! I’m just here for fun).
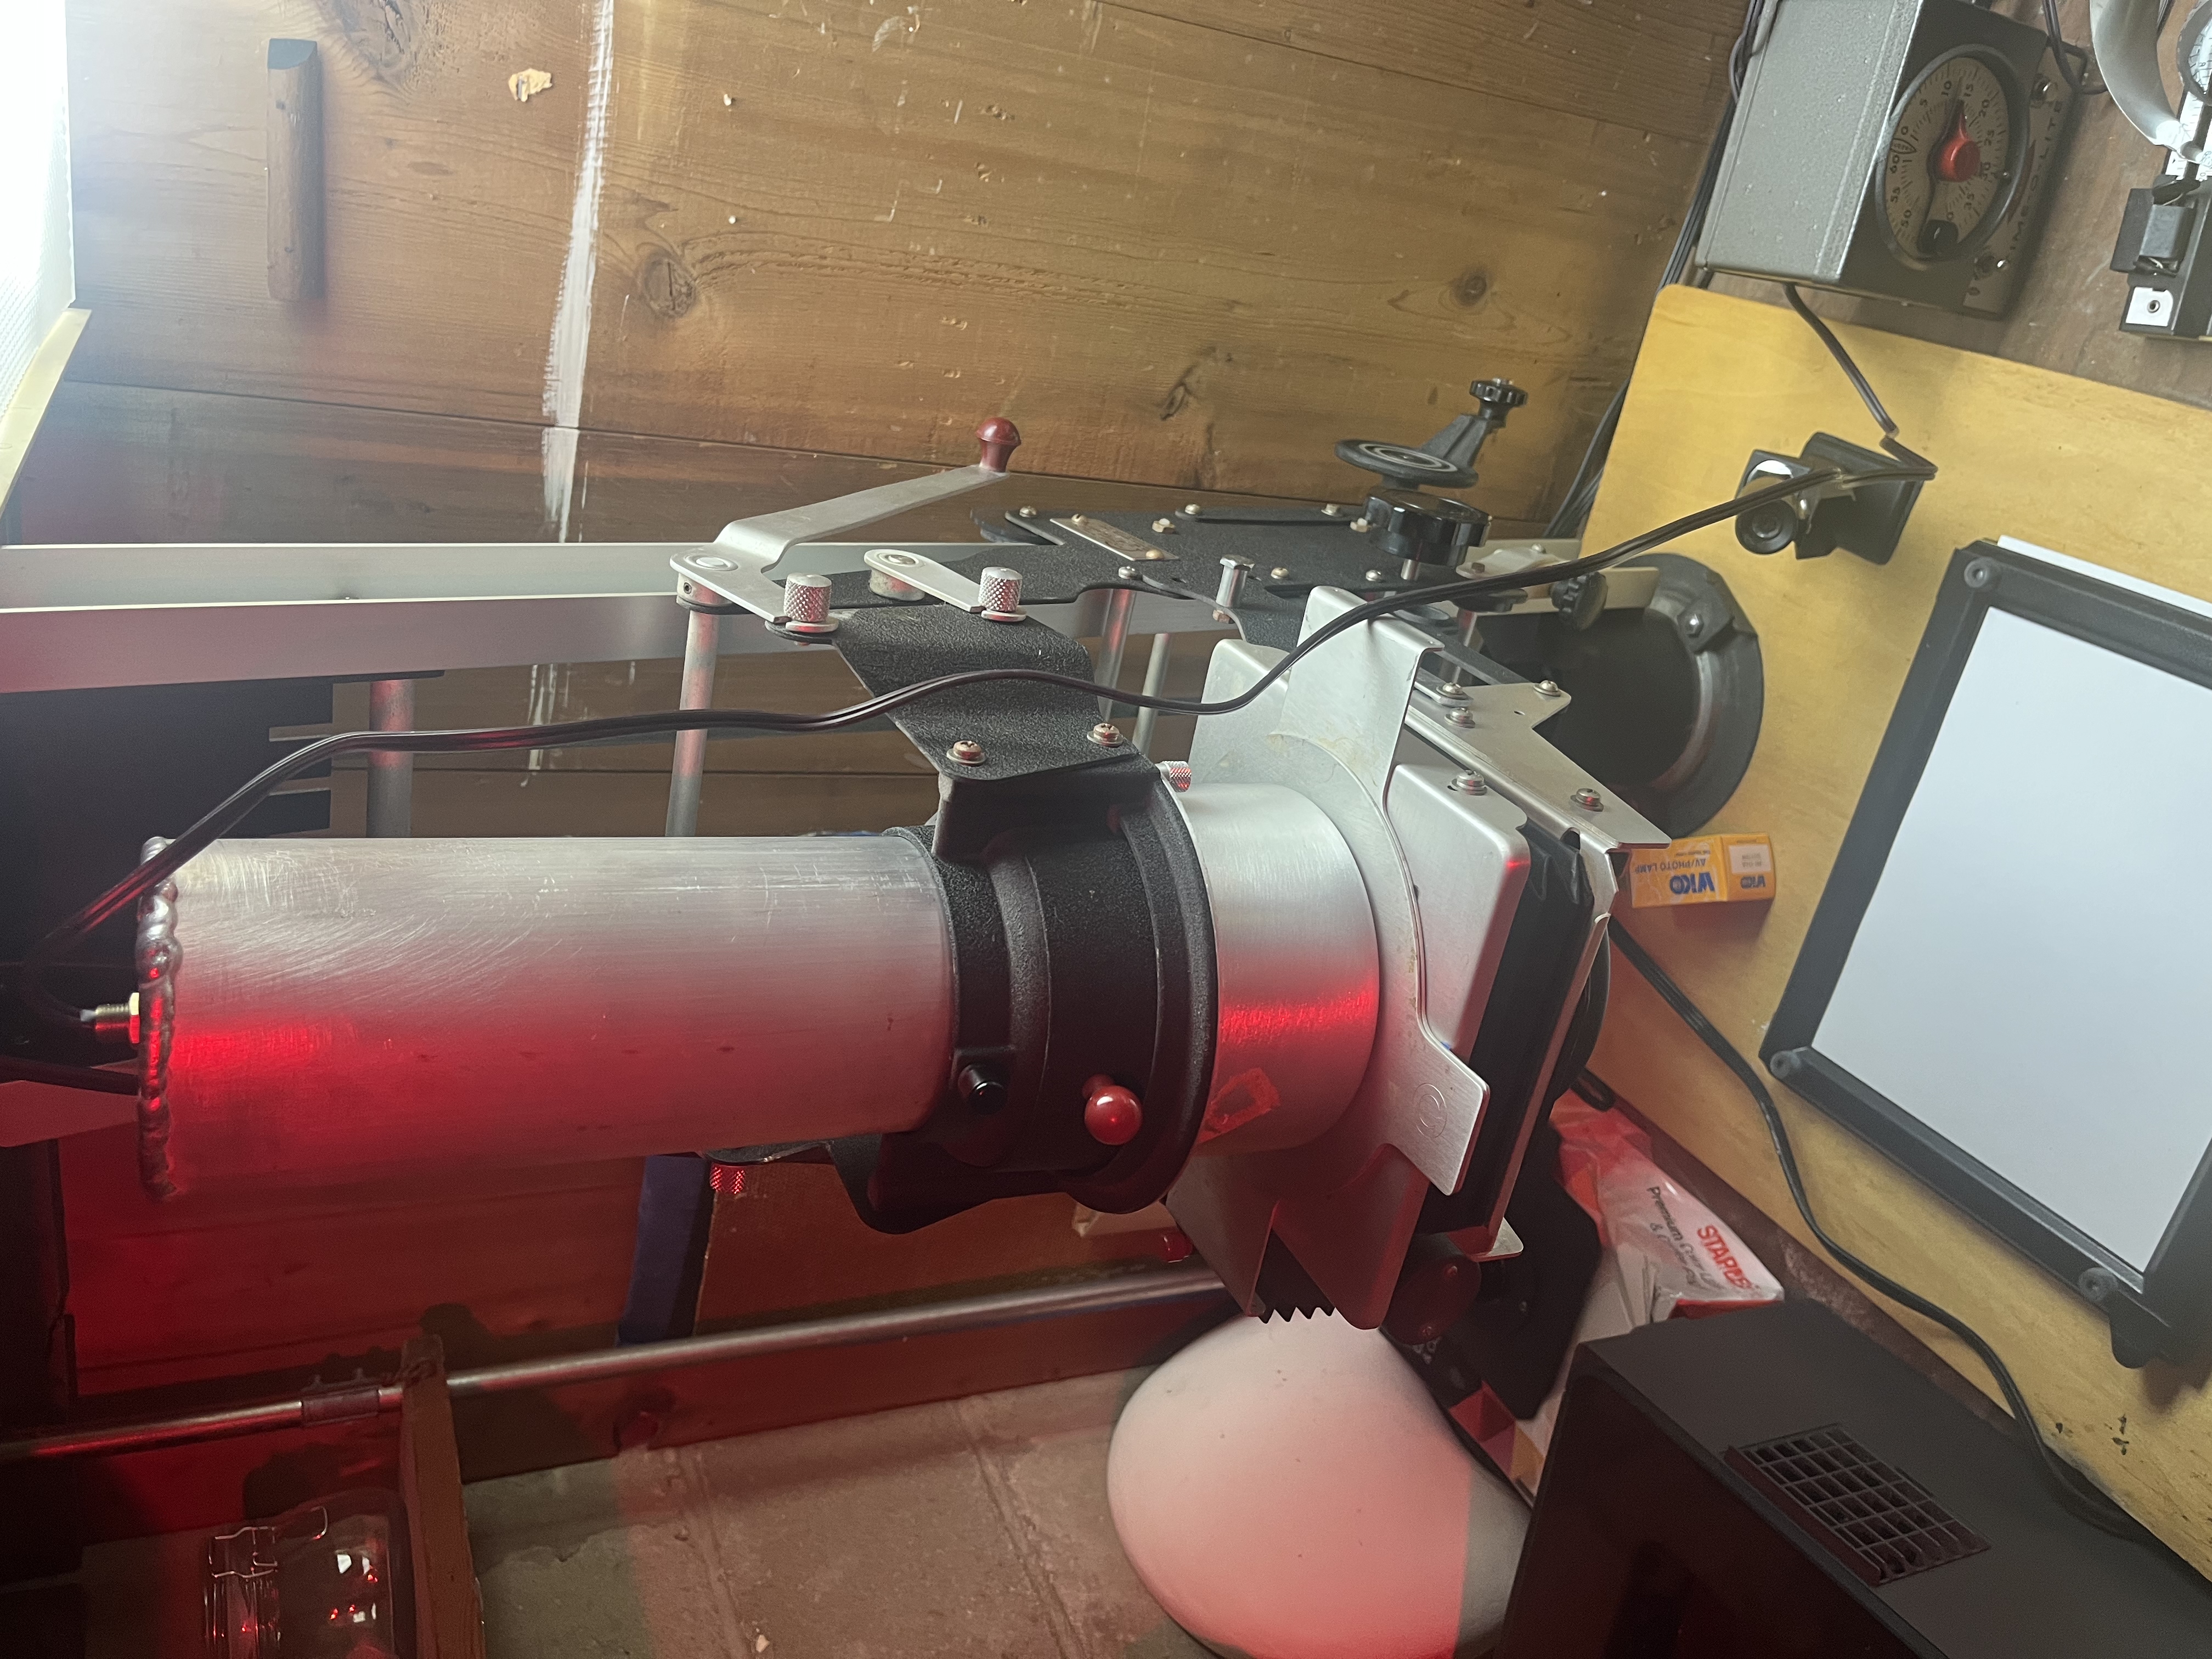
THE MOD
Completed setup with new lamphouse and diffuser
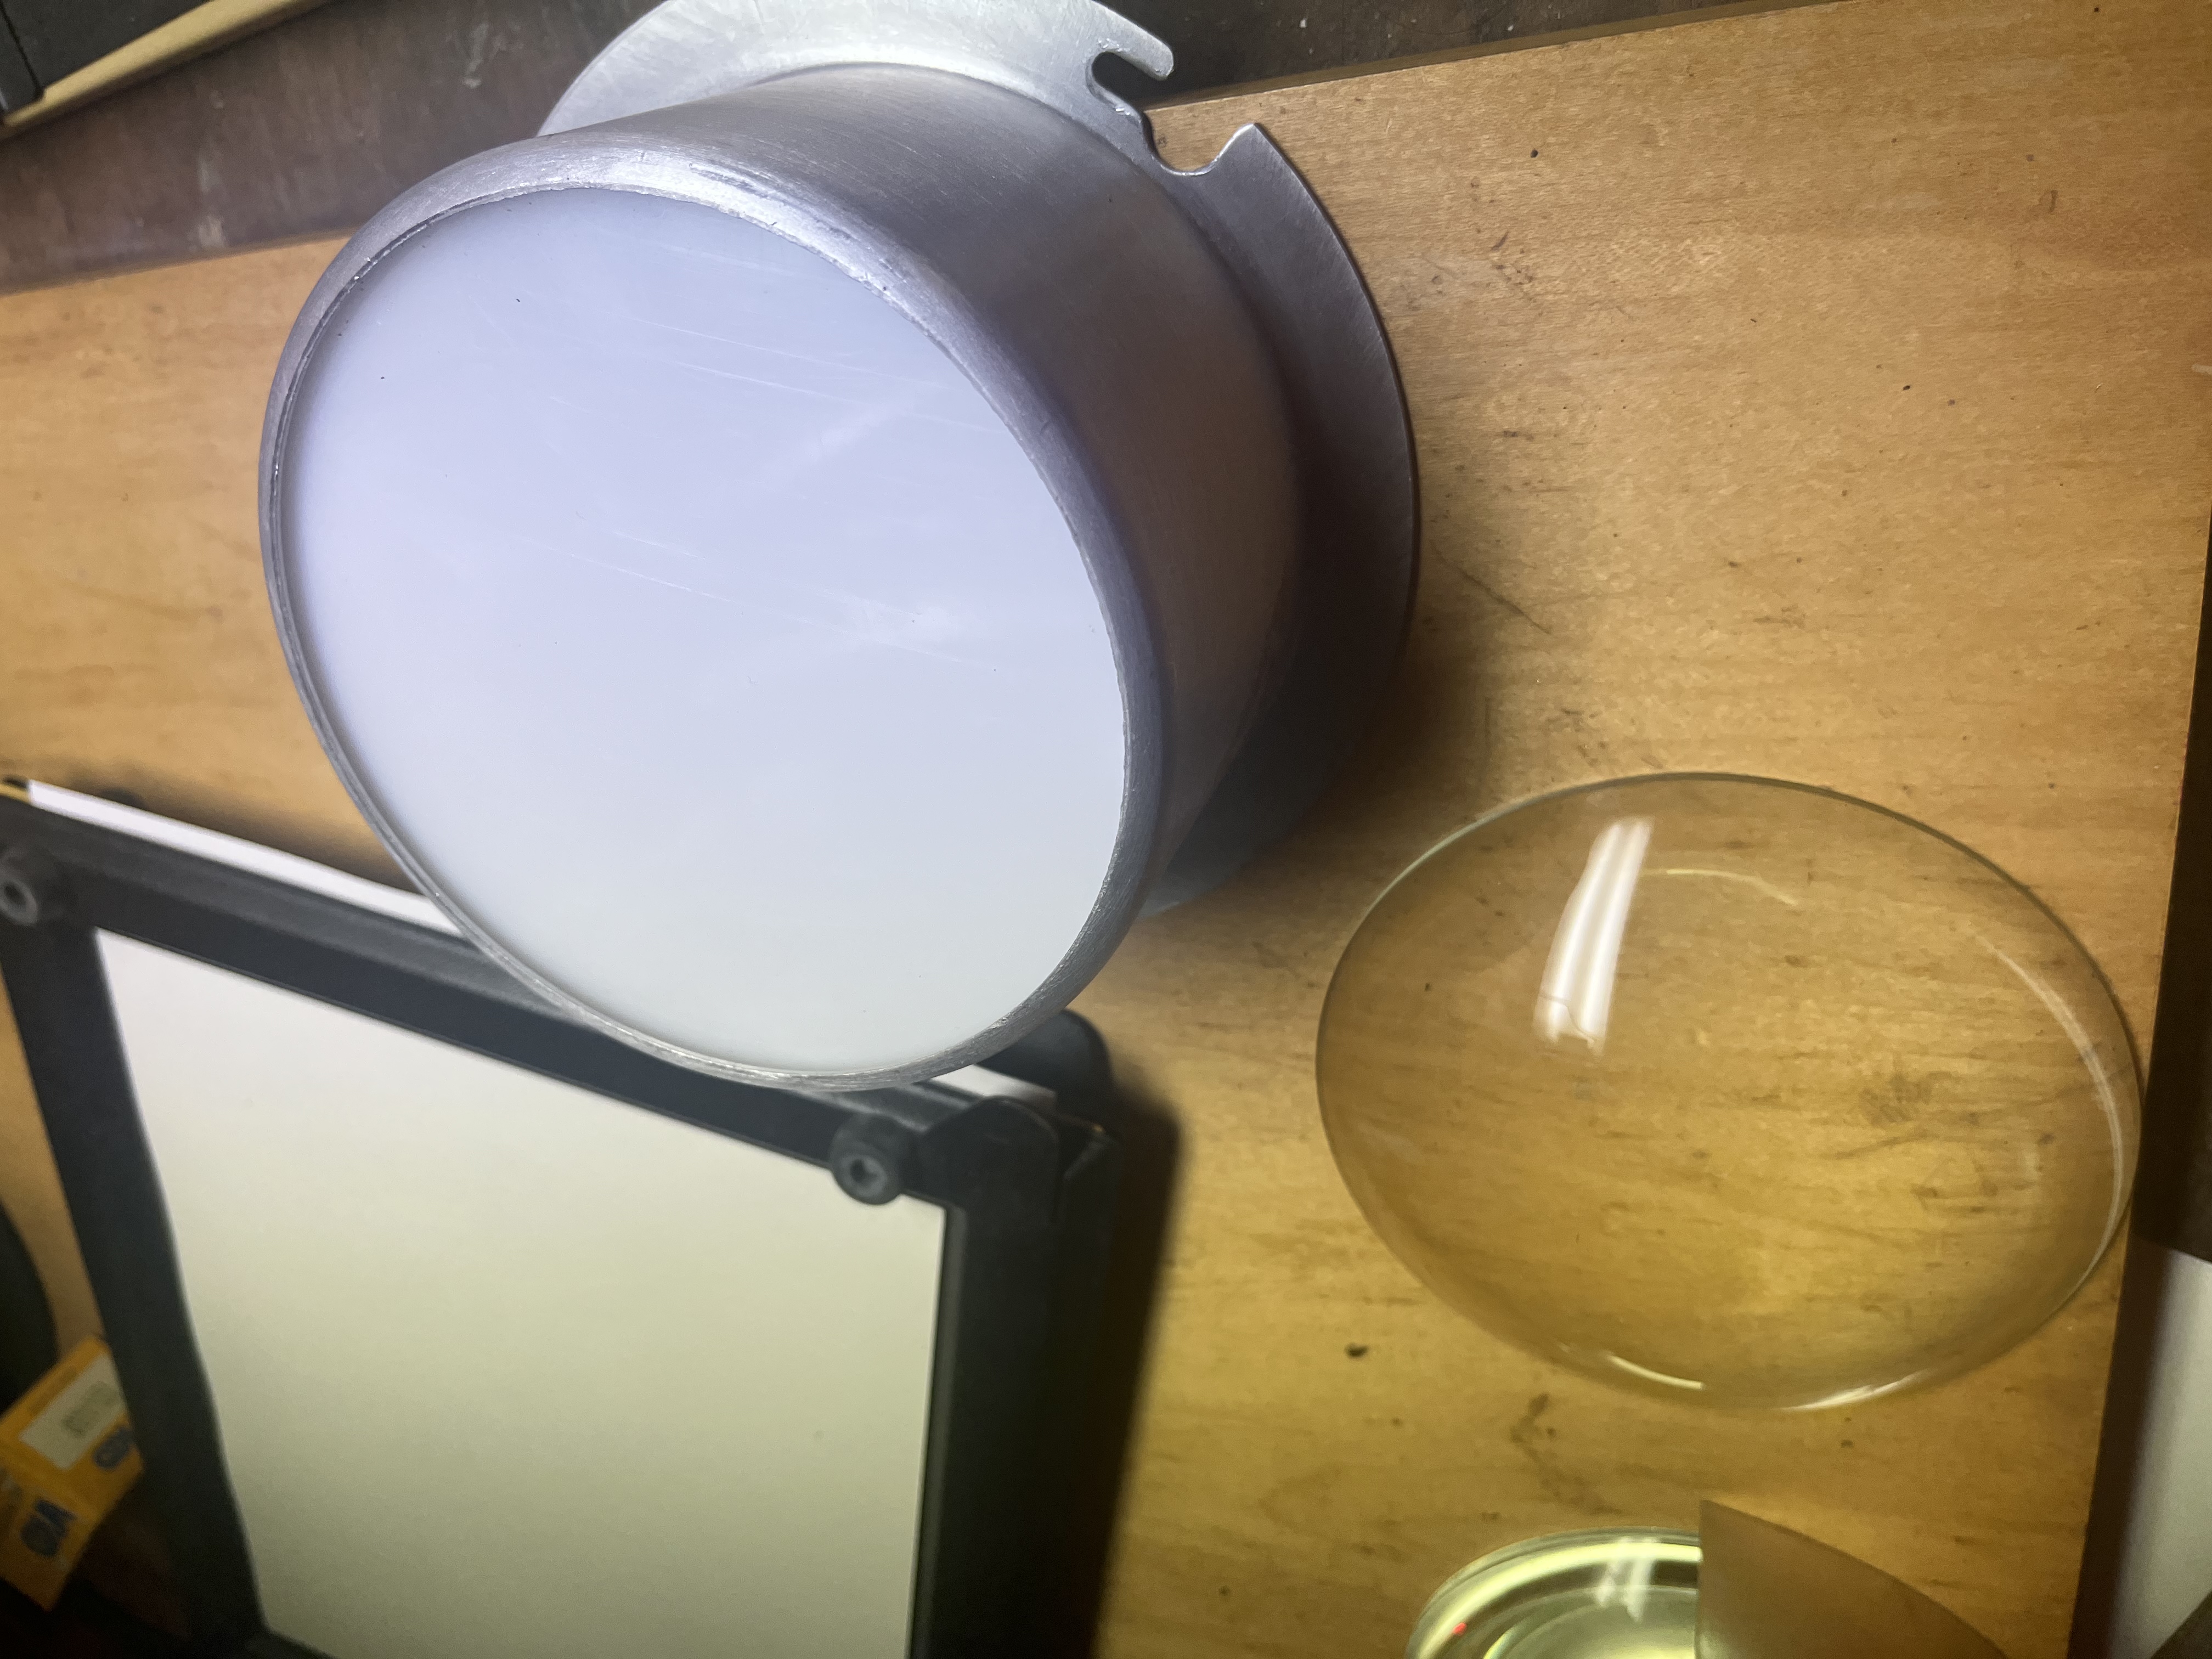
Diffuser
I’m just using a piece of white mystery plastic from my local metal supplier. It 1/4” (6ish mm) thick and looks like white acrylic, although I think it may actually be a different polymer. Word on the street is that white acrylic is great for diffusers, so if you’re making one and you don’t happen to find a good looking piece of scrap mystery plastic, probably go with that. If you can get your hands on the right kind of glass (what kind? I dunno) that’s probably even better, but I’m sure it doesn’t matter too much at the end of the day.
I reused the aluminum housing that’s attached to the elarger head below the filter drawer which normally holds the condenser lenses. The condenser lenses lift right out - I just cut a disc of the diffuser plastic so that it was a snug fit and pushed it to the bottom of the housing. In the pictures you’ll notice some fine scratches on my diffuser plastic - as previously mentioned, this was scrap. I was planning on sanding and polishing them out, but it seems they really don’t show at all when the enlarger is focused, so I probably won’t bother unless I notice any funny business showing up in my prints later
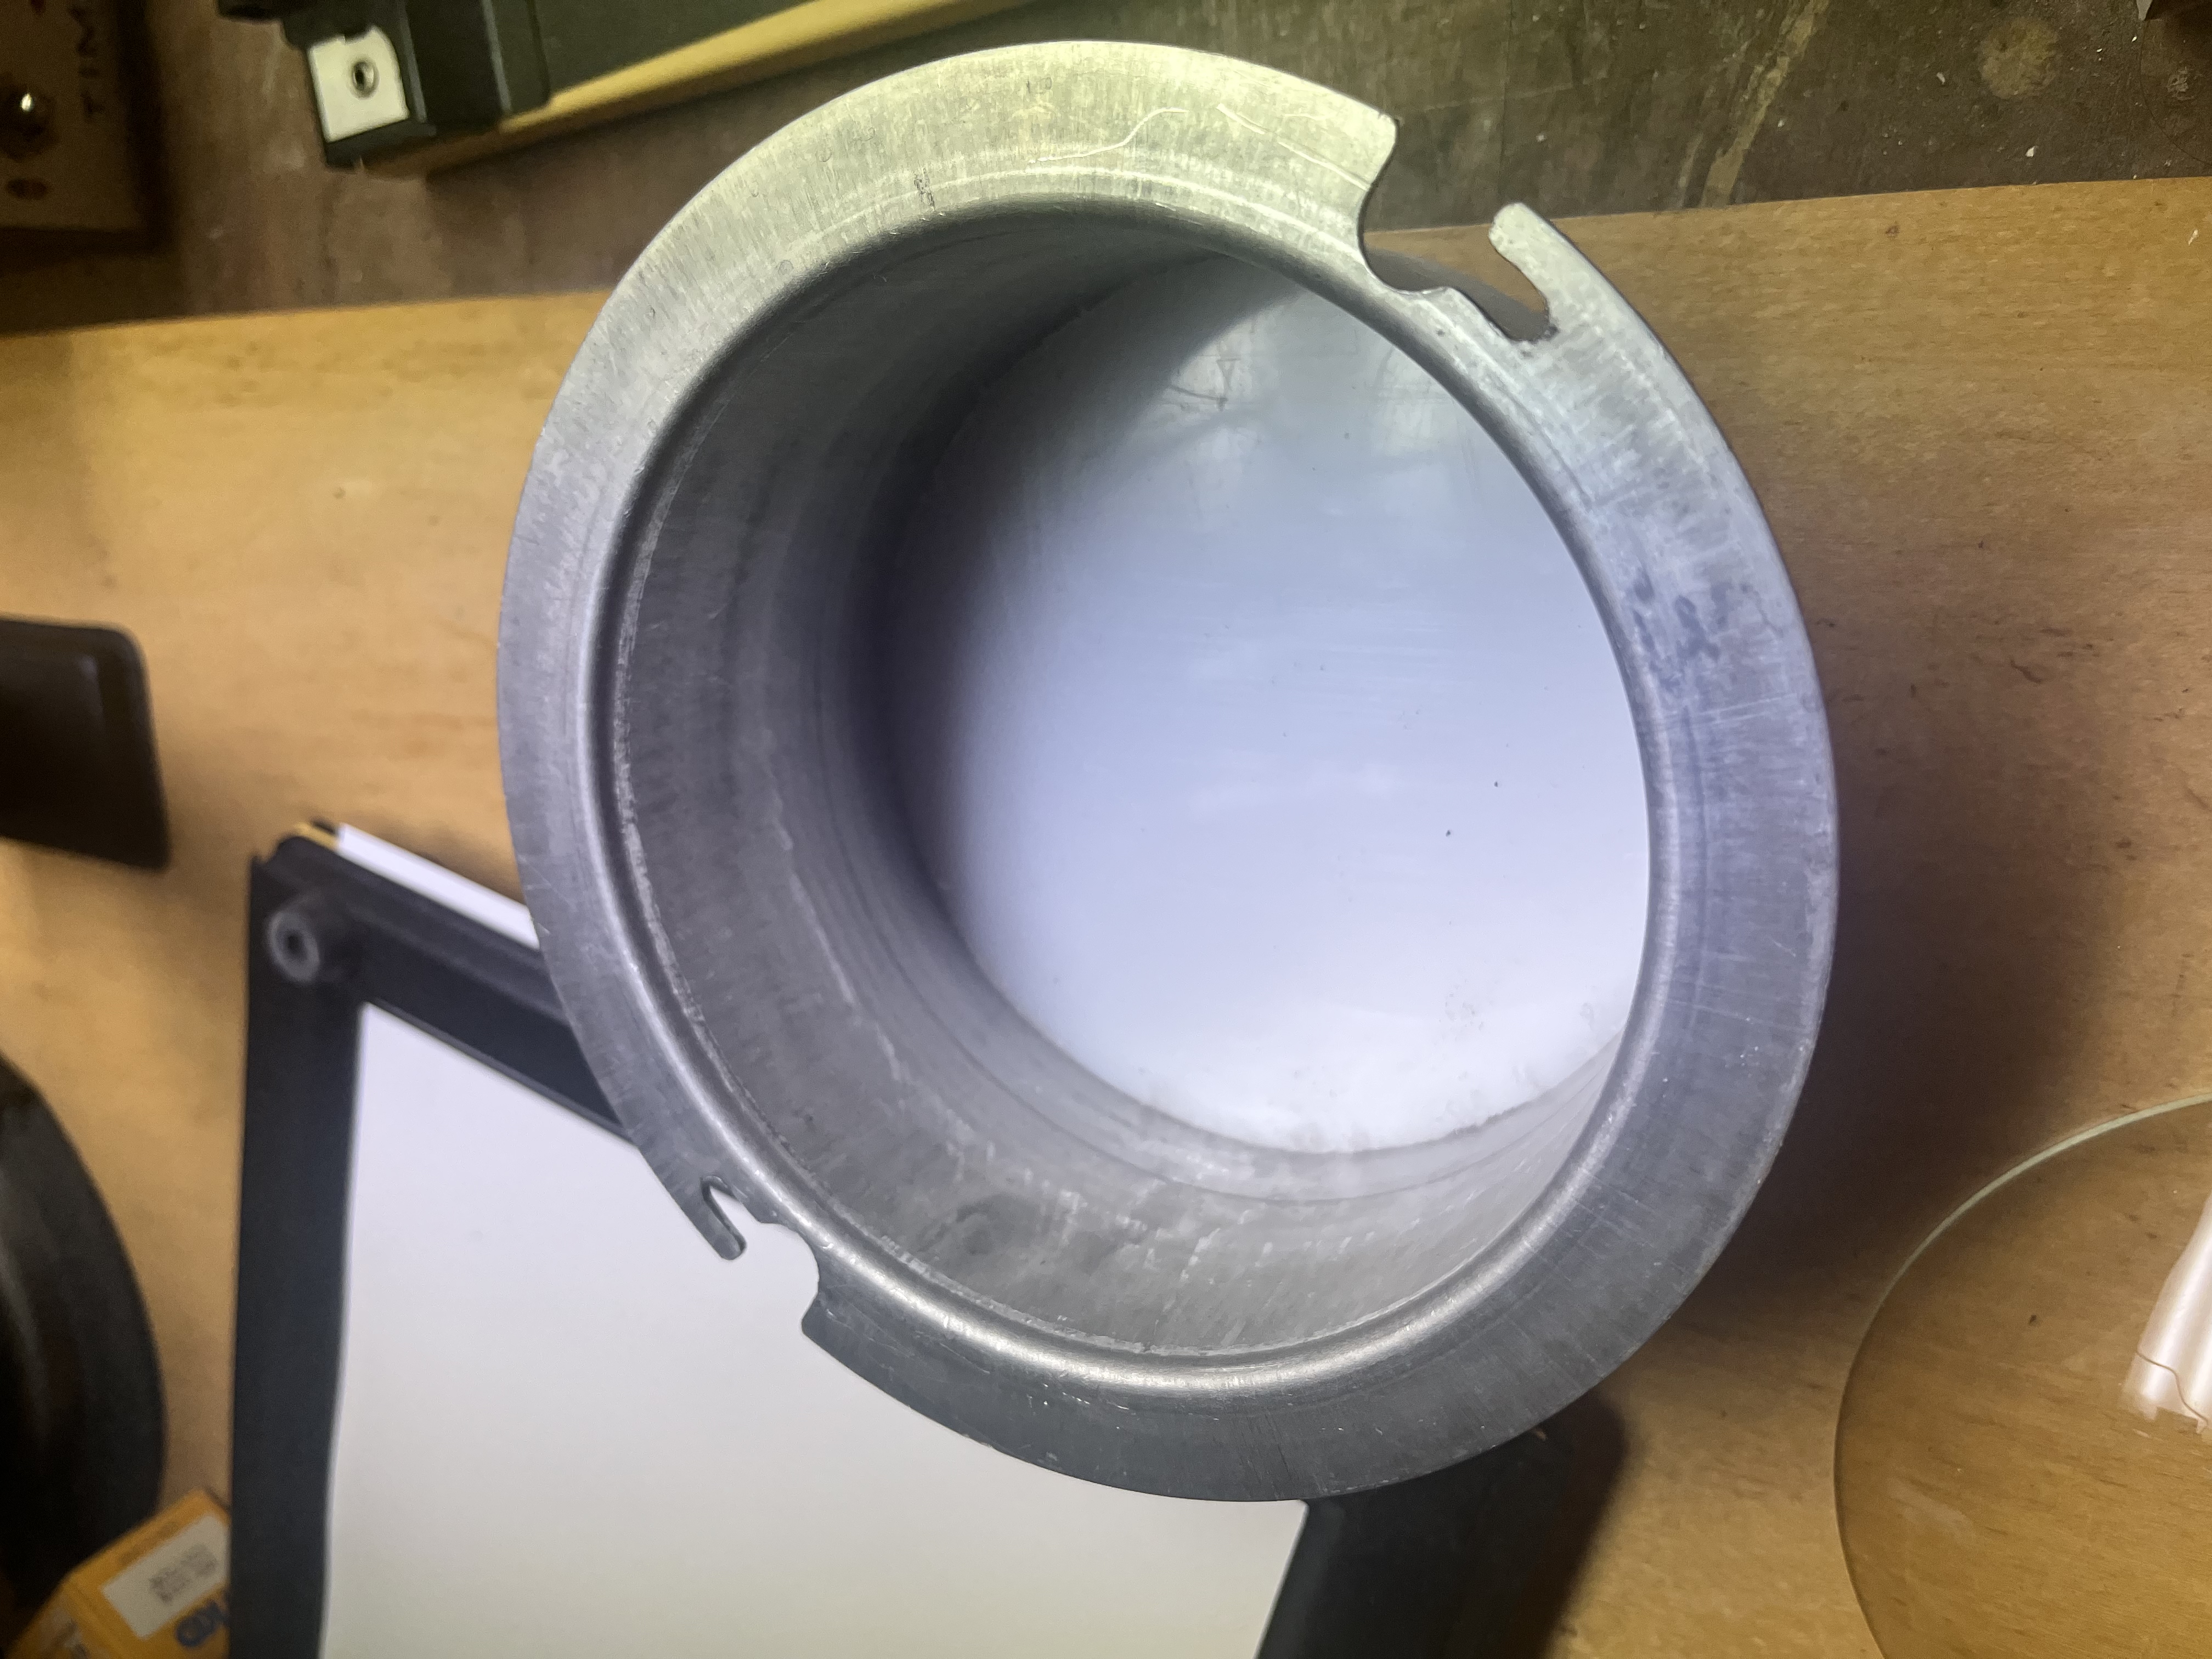
The diffuser installed in the housing. This is the side that faces the film. The stock condenser lenses can be seen next to the housing on the board.
View of the diffuser installed from the top. This side faces the filter drawer.
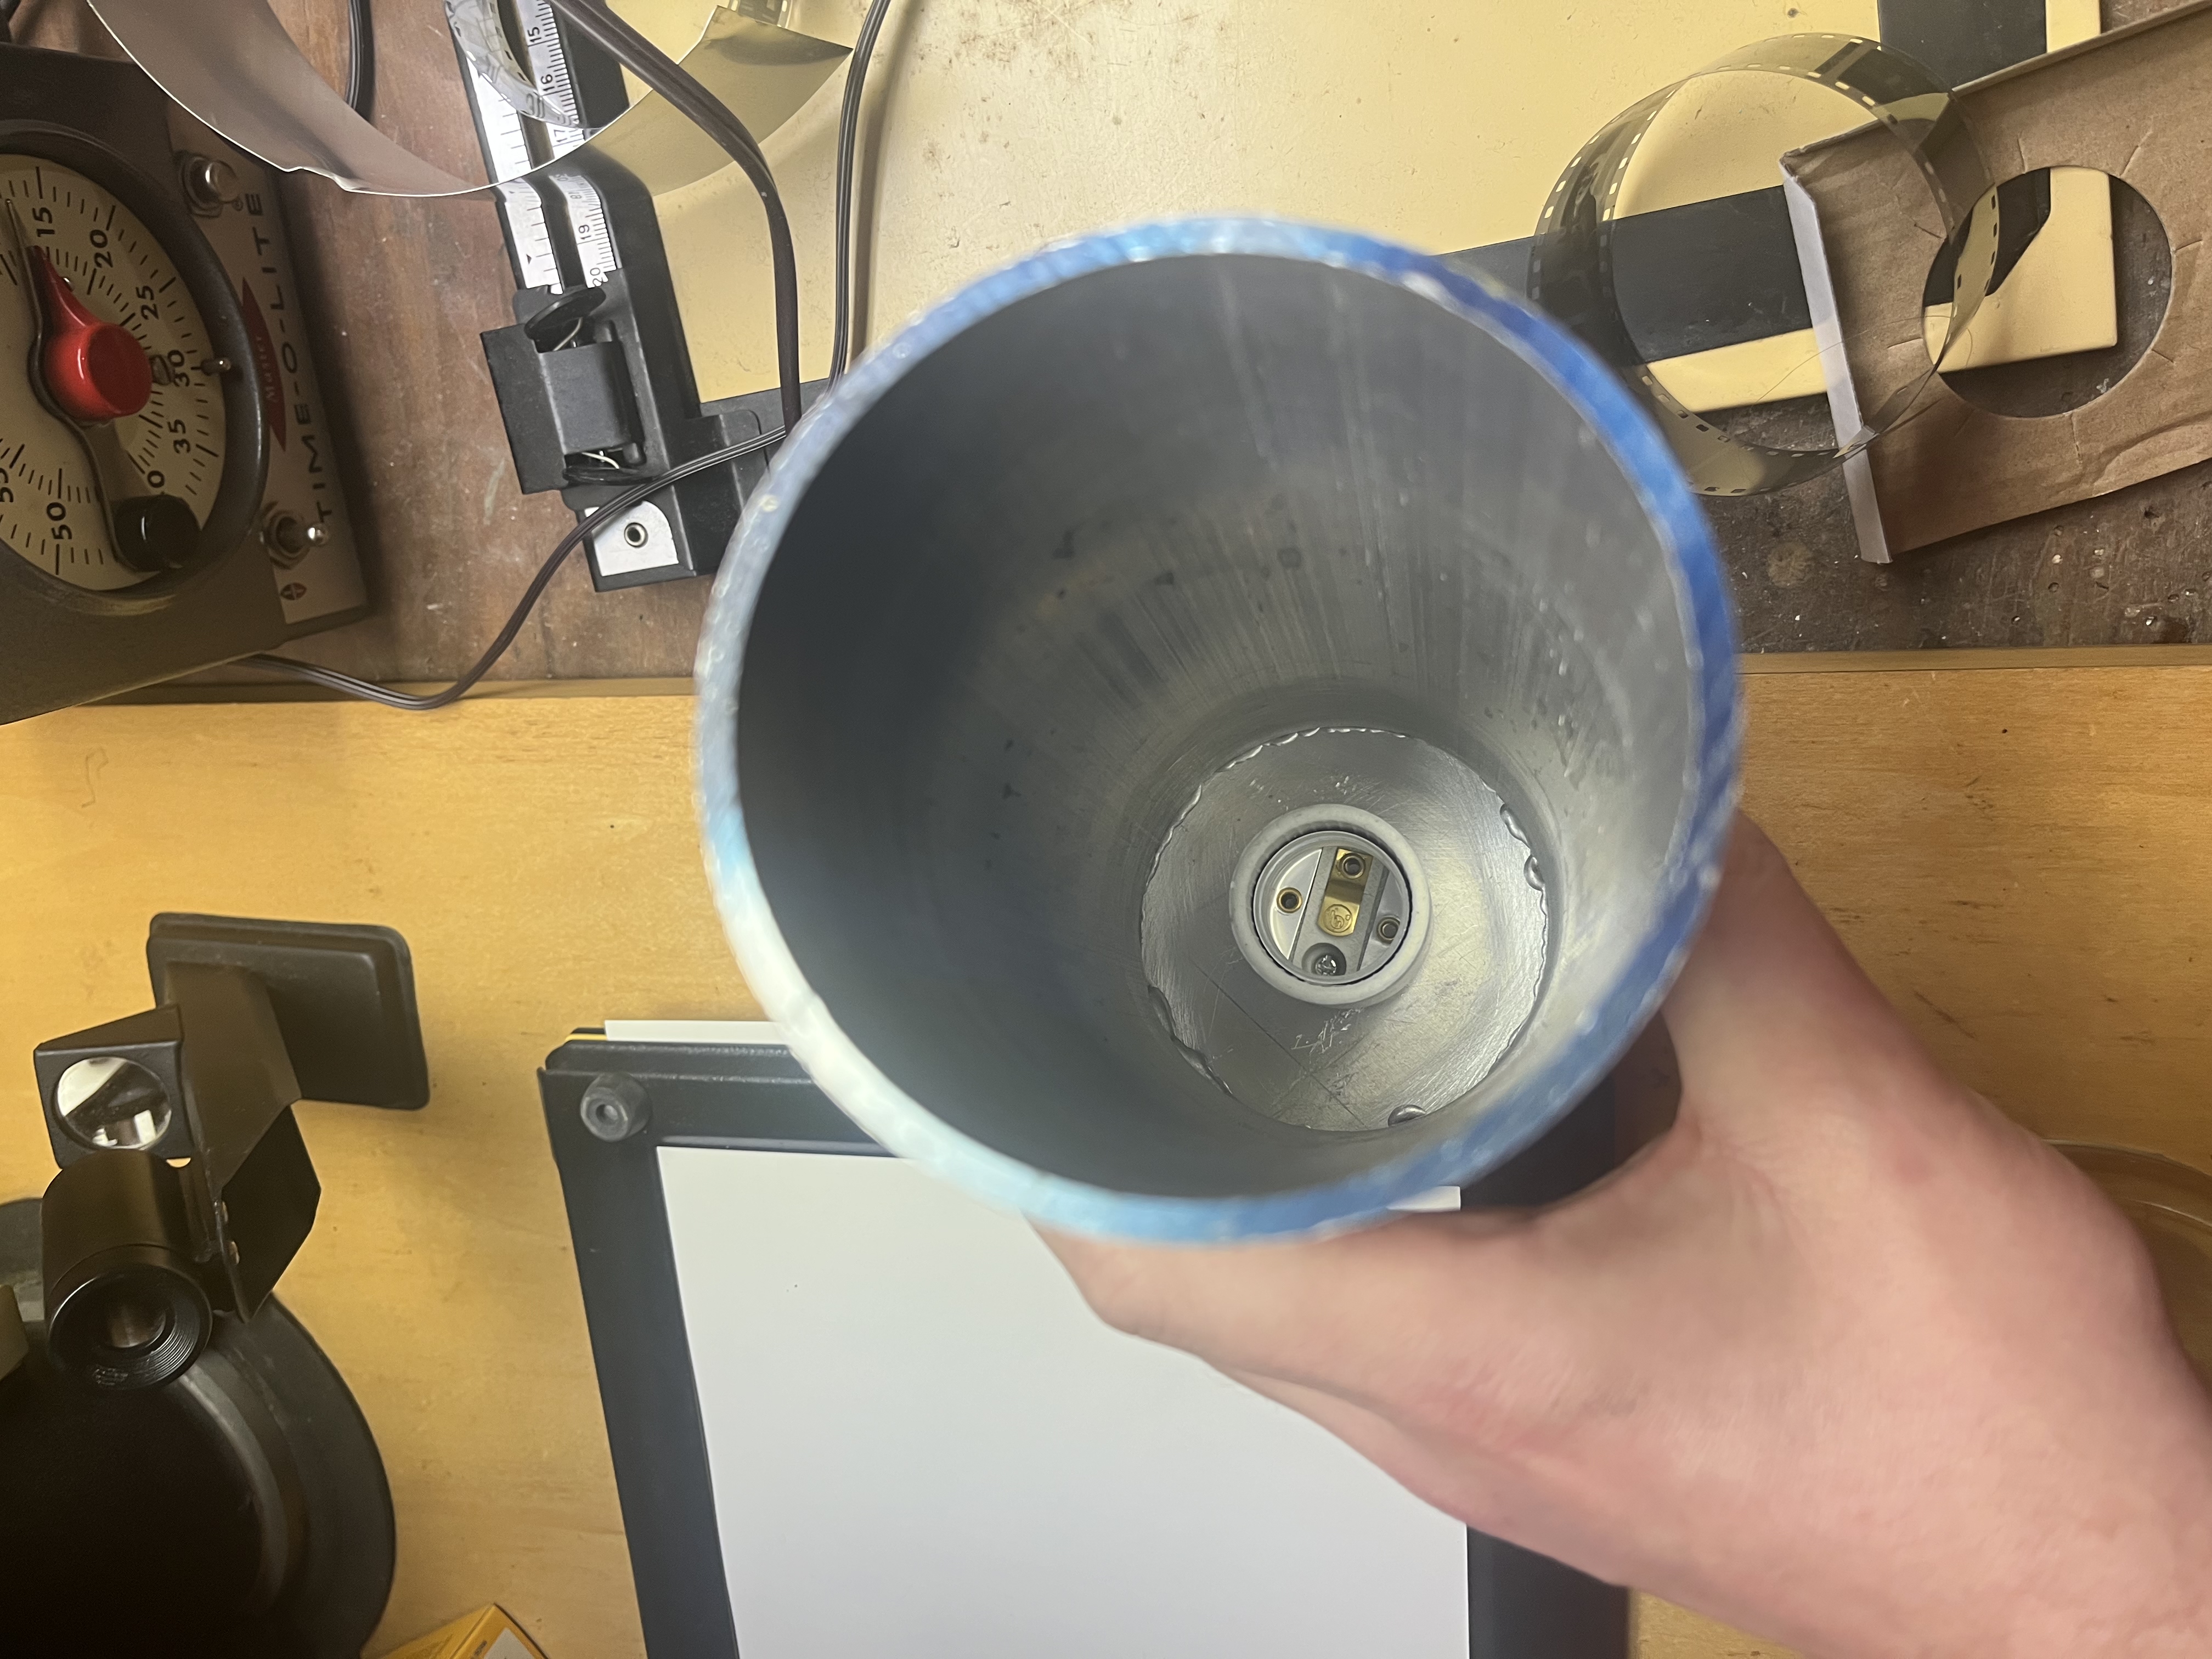
Replacing the lamp house with something more powerful
I don’t honestly have a ton of experience which a million enlargers, but my general impression is that for a given lamp wattage, a condenser is going to be much brighter than a diffuser. To offset that, we’re going to need a more potent lamp. The Omega B8 by default uses a lil 75 watt incandescent, it will produce an image through the diffuser but your printing times would be LOOOOOONG and focusing would be very dim and squinty. My other motivation is to switch to a lamphouse that uses a normal medium bulb socket to give myself more bulb choices. I’m currently using a 200W equivalent (3000ish lumen) soft white LED bulb which seems to give decent illumination. My guess is it might be a stop or two dimmer than the incandescent/condenser setup, but generally seems good. A side benefit of this new setup is that switching to an LED bulb eliminates almost all of the heat hitting the negative which means negs are a lot less likely to pop and warp in the holder.
My new lamphouse is an 8” length of 3.5” aluminum tubing with a cap welded on one end. I happen to have a welder and as previously mentioned was already at the metal store, but if those things don’t apply to you, 3” schedule 40 PVC pipe has the same outer diameter and would work just fine. This tubing is almost exactly the same size as the base on the stock lamphouse and fits right in place very nicely. 8” is long enough for the socket to fit inside with the fairly huge high-brightness LED bulb and still gives a couple inches of clearance from the bulb to the filter tray.
Inside view of lamphouse with socket installed in the top
Lamphouse showing bulb installed

Results???
Seems pretty good, brightness is acceptable (and could be made brighter with a more powerful bulb and/or a more transmissive diffuser). My light meter reads even illumination corner-to-corner with a 6x6 negative carrier installed. So pretty good? Time will tell if the bulb I’m using produces the right wavelengths for good VC printing behavior, but a smattering of random internet forums seems to suggest I’ll probably be OK (and can always change bulbs if not).
Other Info:
- KHB Photographix excellent Omega B8 Page (a goldmine for info about omega enlargers generally). Especially precious are the model numbers for the various lens boards which are pretty hard to come by and are often not well advertised.
- Nice writeup for building an LED VC enlarger head which I’ll probably pursue at some point.
